This example shows how to integrate the dashboard designer into an Angular application. First of all, load scripts:
import { Stimulsoft } from 'stimulsoft-dashboards-js/Scripts/stimulsoft.blockly'
Then, create a component:
@Component({
selector: 'app-root',
template: `<div>
				<h2>Stimulsoft Dashboards.JS Designer</h2>
				<div id="designer"></div>
			</div>`
})

...
After that, create
AppComponent class with the dashboard designer integration:
...

export class AppComponent {
	options: any;
	designer: any;

	ngOnInit() {
		console.log('Loading Designer view');

   		console.log('Set full screen mode for the designer');
    	this.options = new Stimulsoft.Designer.StiDesignerOptions();
    	this.options.appearance.fullScreenMode = false;

   		console.log('Create the dashboard designer with specified options');
    	this.designer = new Stimulsoft.Designer.StiDesigner(this.options, 'StiDesigner', false);

    	console.log('Edit dashboard template in the designer');
    	this.designer.report = Stimulsoft.Report.StiReport.createNewDashboard();

    	console.log('Load dashboard from url');
    	this.designer.report.loadFile('/dashboard/DashboardChristmas.mrt');

    	console.log('Rendering the designer to selected element');
    	this.designer.renderHtml('designer');

   		console.log('Loading completed successfully!');
	}

...
Finally, call
constructor():
...

	constructor() {
	}
}
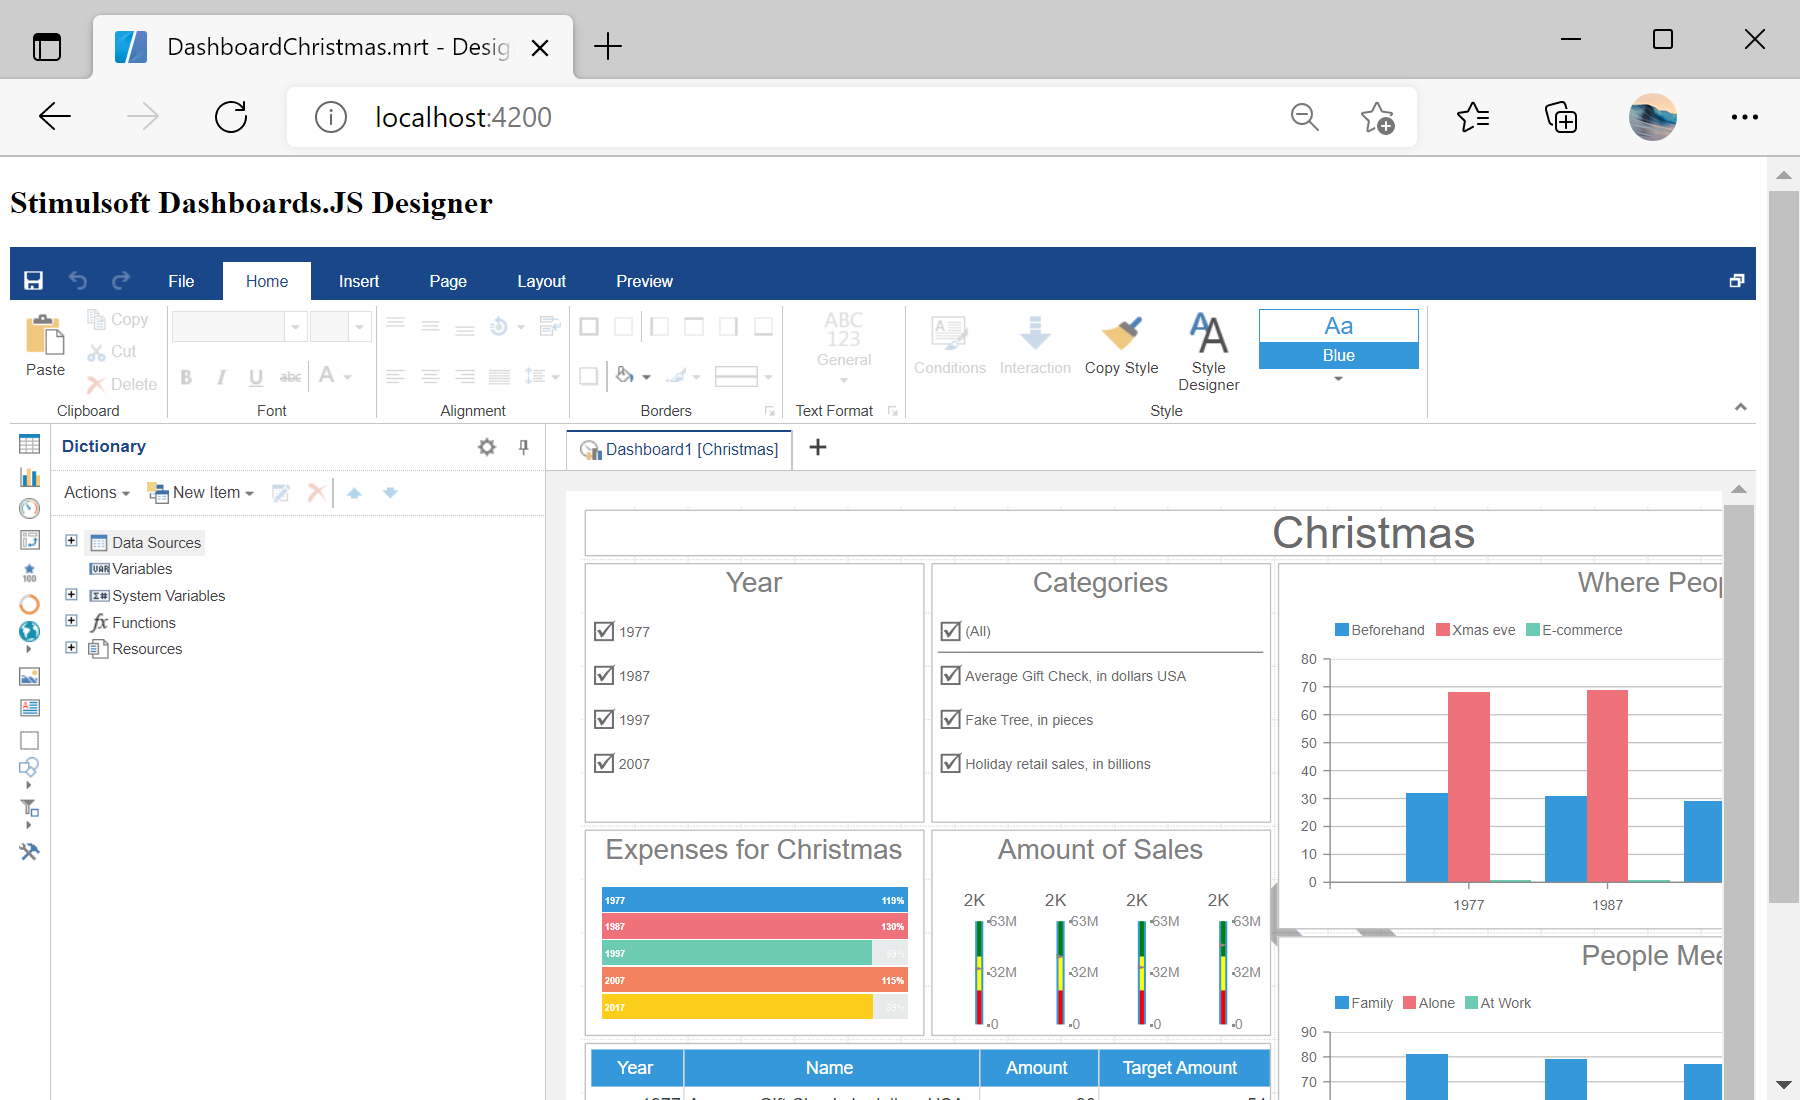
На скриншоте ниже Вы можете увидеть результат выполнения данного кода: